v5.4.0 — Free & Open Source

YouTube to WordPress, automated.

A free WordPress plugin that publishes a complete blog post every time you upload a YouTube video — with the real video transcript turned into an SEO-friendly AI summary by ChatGPT. No copying. No pasting. No manual writing.

100%
Free Plugin
~$0.02
Per AI Summary
5 min
Setup Time
24/7
Auto-Publishing

Where to get the plugin

YTtoWP Auto Blog Publisher is distributed through the official WordPress Plugin Directory. One-click install from your WP admin or download the zip below.

Version 5.4.0 GPL v2 or later Requires WP 5.0+ Requires PHP 7.0+
Download Now →

From upload to published — in minutes.

Four steps. Fully automatic. You hit "publish" on YouTube; the plugin handles the rest on your WordPress site.

01

Watch the feed

The plugin polls your YouTube channel's public RSS feed every 5, 15, or 30 minutes (your choice). No API key needed just for detection.

02

Fetch the transcript

When a new video lands, it pulls the actual captions through the YouTube Data API v3 using your OAuth credentials.

03

Summarize with AI

The transcript goes to OpenAI's ChatGPT API with your custom prompt. The summary reflects what the video actually says.

04

Publish to WordPress

A new post appears with the video title, embedded player, YouTube thumbnail as featured image, and the AI-written summary.

Everything you need. Nothing you don't.

Built lean by a freelancer who actually runs YouTube channels — every feature solves a real problem.

📡

RSS-Based Detection

Polls your channel's public RSS feed — no API quota burned on detection. Reliable and free.

🧠

Real Transcript AI

Summaries are generated from the actual video transcript, not the title or description. No hallucination.

🎬

Embedded Player

Each post includes the YouTube video embedded inline — keeping readers engaged on your page.

🖼️

Auto Featured Image

The YouTube thumbnail is automatically pulled and set as the WordPress featured image.

⚙️

3 Publishing Modes

New videos only, from a specific date, or all videos in the feed. You decide what gets published.

✍️

Custom Templates

Edit the post layout with placeholders. Edit the AI prompt to match your brand voice.

📋

Activity Log

Every action is logged. See what was published, when, and what skipped — full transparency.

🔐

OAuth 2.0 with Auto-Refresh

Secure Google OAuth connection. Tokens auto-refresh — set it once, forget it forever.

📚

Built-In Setup Guide

Step-by-step Google Cloud walkthrough inside the plugin. Non-technical users can follow along.

Why every YouTuber should publish their videos as blog posts too.

Most creators leave the single biggest growth lever on the table: their own website. YouTube is a rented platform — every algorithm change, every demonetization wave, every shadowban is a reminder. Your blog is the only place you actually own.

1. SEO compounding you can't get on YouTube alone

YouTube videos rank inside YouTube. Blog posts rank on Google. When the same content lives in both places, you double your discoverable surface area. A transcript-based blog post is indexable text — Google can crawl every word, every keyword, every long-tail phrase your video accidentally covers. Over months, those posts compound into a steady stream of organic traffic that never appears in your YouTube analytics.

2. Email capture and audience ownership

You can't email your YouTube subscribers — YouTube can. But a visitor on your blog can join your newsletter, download a lead magnet, or buy a product. Every video reposted as a blog is another doorway into a relationship YouTube can't take away from you.

3. Accessibility and reach

Not everyone watches video. Some people skim. Some are on slow connections. Some prefer reading at their own pace. Some are at work and can't play audio. A written summary lets all of these people consume your content — and many of them will click through to the embedded video once they're hooked.

4. Backlink magnet

Journalists, bloggers, and Wikipedia editors don't cite YouTube videos — they cite written sources. A blog post with the transcript and summary becomes the citeable version of your video, which means inbound links, domain authority, and even more SEO juice.

5. Repurposing without the work

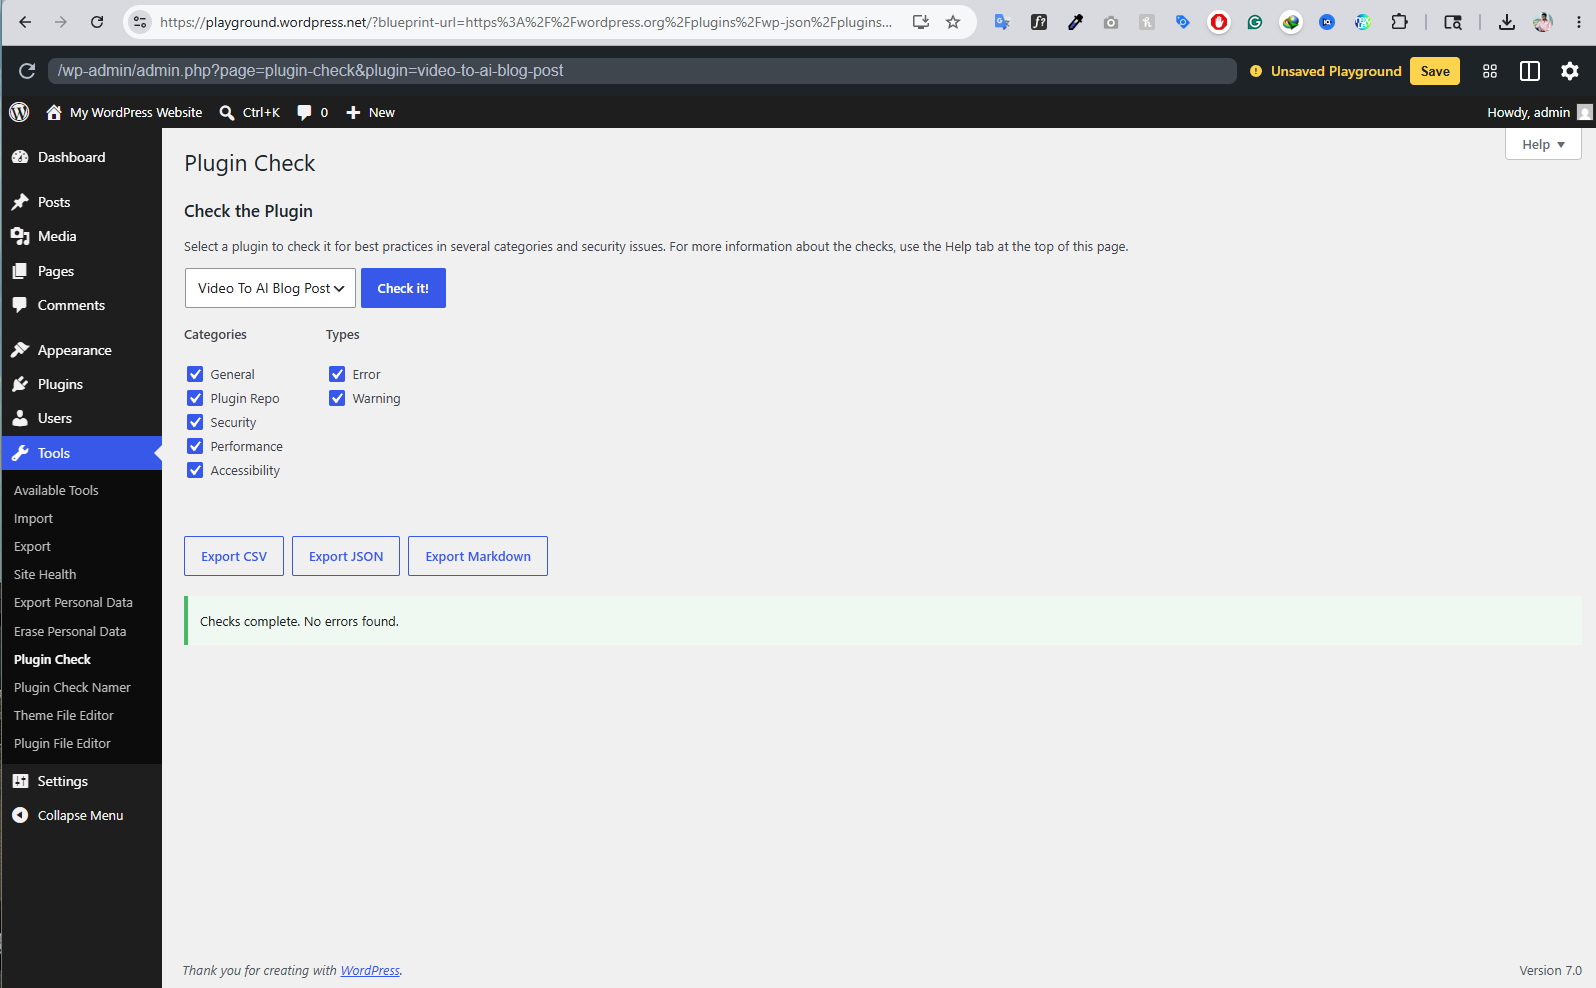
Manually writing a blog version of every video takes 1–2 hours each. For a daily channel, that's 30–60 hours a month of pure repurposing labor. YTtoWP Auto Blog Publisher cuts that to zero — and the AI summary is good enough to publish as-is or use as a starting draft you tweak in five minutes.

6. Monetization beyond ad revenue

YouTube pays you for views. Your blog can sell affiliate products, display direct sponsorships you control, offer paid courses, or run a membership program. Same content, multiple revenue streams.

The benefits, in plain English.

Not features — outcomes. What actually changes in your day-to-day once this plugin is running.

01 / TIME

Get back 30+ hours a month

Stop copy-pasting transcripts, hunting for thumbnails, and writing summaries. The plugin does in 90 seconds what used to take you 90 minutes.

02 / SEO

Index every video on Google

Each post is an indexable, keyword-rich page built from your real video content. Long-tail traffic starts compounding from day one.

03 / OWNERSHIP

Own your audience, not just rent them

Your website is yours. Every visitor is a chance to capture an email, sell a product, or build a relationship YouTube can't sever.

04 / COST

Effectively free

Plugin: free. Google API: free tier covers most channels. OpenAI: about 2 cents per summary. A daily uploader pays roughly $0.60 a month.

05 / QUALITY

Summaries grounded in reality

Because the AI reads the actual transcript, the post matches what the video says — no fabricated facts, no off-topic filler.

06 / CONTROL

Tweak everything

Edit the post template, customize the AI prompt, choose which videos to publish, switch publishing mode, pause anytime. You stay in charge.

Built safe. Verifiably so.

YTtoWP Auto Blog Publisher is engineered around one principle: nothing leaves your server except direct calls to the official APIs you've authorized. There is no middleman, no proxy, no telemetry, no phone-home.

  • Your credentials stay on your server.
    API keys and OAuth tokens are stored exclusively in your WordPress database. The plugin author never sees them.
  • Direct API calls only.
    Every request goes straight from your server to YouTube, Google, or OpenAI. No third-party server in the path.
  • GPL v2 open source.
    Every line of code is auditable. You can read it, modify it, and verify what it does.
  • You control the Google project.
    OAuth credentials are created in your own Google Cloud account. Revoke access in one click anytime.
  • WordPress security best practices.
    Nonce verification, capability checks, sanitized inputs, and escaped outputs throughout — built to WP coding standards.
  • No data collection.
    The plugin doesn't track usage, analytics, or any user behavior. There's nothing to opt out of because nothing is collected.

Almost free. Here's the math.

No subscriptions. No upsells. Just the actual costs of the underlying APIs — most of which are free.

Component
Cost
Notes
YTtoWP Plugin
$0.00
Free & GPL-licensed. Forever.
YouTube Data API v3
$0.00
10,000 free units per day — more than enough for most channels.
YouTube RSS Feed
$0.00
Public feed. No authentication, no quota.
OpenAI ChatGPT (per summary)
~$0.01–$0.03
Pay-as-you-go. A daily channel costs ~$0.60/month.
WordPress hosting
You already have it
Runs on any standard WP install.

I build this stuff for a living.

If you want a custom version of this plugin, a different automation, or a full WordPress build — I'm a government-verified freelancer with 10+ years of experience. Hire me directly:

Built for creators who hate busywork.

If you're publishing on YouTube and ignoring your blog, this is the missing link.

🎙️

Podcasters

Long-form podcast episodes become searchable text instantly — every guest mention, every topic, indexable on Google.

📰

News & commentary channels

Breaking news videos get blog versions in minutes. Capture the SEO window while the topic is still hot.

🛠️

Tutorial creators

"How to" videos rank twice — once on YouTube, once on your blog. Both feed the same audience.

🎓

Course creators & educators

Lecture transcripts become written companions for students who prefer reading or need to search lessons.

💼

B2B & thought-leadership channels

LinkedIn-style executives get a content library on their company blog without hiring a writer.

🎮

Reviewers & gaming creators

Product reviews and game commentary become long-tail SEO assets — people search reviews on Google, not YouTube.

Questions answered.

Yes. The plugin itself is 100% free and GPL-licensed. The YouTube Data API has a generous free tier (10,000 units per day). OpenAI charges only about $0.01–$0.03 per blog summary, so a channel uploading one video a day costs roughly $0.30–$0.90 per month.

It fetches the actual video transcript through the YouTube Data API v3 using your own OAuth credentials, then sends that transcript to OpenAI's ChatGPT API to produce a content-accurate summary. Because the AI works from the real transcript, the summary reflects what the video actually says — not what the title implies.

Yes — a free Google Cloud project with YouTube Data API v3 enabled and OAuth 2.0 credentials. The plugin includes a built-in step-by-step setup guide that walks you through every screen of the Google Cloud Console. Most users finish setup in under 10 minutes.

No. The default mode is "New Only" — it only processes videos published after activation. You can optionally switch to "From Date" to include videos from a specific date, or "All Videos" to backfill your entire channel history.

The YouTube Captions API requires owner-level access to download transcripts directly. For channels you don't own, the plugin falls back to scraping public captions or using the video description as input for the AI summary.

All API credentials live in your own WordPress database. Every API call goes directly from your server to YouTube, Google, or OpenAI. Nothing is sent to the plugin author's servers — there is no middleman, no telemetry, no analytics collection.

Yes. The post template is fully editable with placeholders for the video title, embed, thumbnail, and AI summary. You can rearrange them, add custom HTML, or wrap them in your theme's classes. The AI prompt is also fully customizable so the summary matches your brand voice.

The plugin falls back gracefully. It will attempt to use the video description as input for the AI summary. If that's also missing, the post is created with the embed and thumbnail but without a generated summary — you can add one manually later.

Yes. The plugin works on standard WordPress installs and on Multisite networks. Each site configures its own YouTube channel and API credentials independently.

Yes. There's a master on/off switch in the settings. Toggle it off, the cron stops running, and nothing new gets published until you toggle it back on.

Message me directly.

Bug report, feature request, support question, or just want to say something — I read every message. No support ticket system, no AI chatbot. Just me.

Ready to put your videos to work?

Install YTtoWP Auto Blog Publisher and never write another video recap from scratch.

Get the Plugin →

From zero to auto-publishing — in 10 minutes.

The plugin ships with a built-in setup wizard, but if you want to know exactly what you're getting into before downloading, here's every step laid out in full. Read this once and you'll be set up faster than the wizard takes to load.

01

Get your YouTube Channel ID

Before anything else, the plugin needs to know which channel to watch. A Channel ID is a unique string that starts with UC followed by 22 characters. It's not the same as your channel handle.

Open youtube.com in your browser and sign into the Google account that owns your channel.
Click your profile picture in the top-right corner and choose "Your channel".
Look at the URL in your browser's address bar. If it looks like youtube.com/channel/UCxxxxxxxxxxxxxxxxxxxxxx, the part after /channel/ is your Channel ID. Copy it.
If your URL shows a handle instead — like youtube.com/@yourname — you need one more step. Click "Customize channel" from your channel page, then go to Settings → Advanced settings. Your Channel ID is listed there.
  • Alternative method: right-click anywhere on your channel page → View page source → press Ctrl+F (Cmd+F on Mac) → search for channelId. The first match is your ID.
Paste the Channel ID into the "Channel ID" field on the plugin's settings page (WP Admin → Settings → YT Auto Blog).
Verify it works: open https://www.youtube.com/feeds/videos.xml?channel_id=YOUR_ID in your browser, replacing YOUR_ID with your Channel ID. If you see an XML feed listing your videos, the ID is correct.
02

Set up your Google Cloud project & API Key

The plugin needs YouTube Data API v3 access to fetch video metadata and transcripts. This runs on Google's free tier — 10,000 units per day, which is more than enough for any normal channel. You only do this once.

Go to console.cloud.google.com and sign in with the same Google account that owns your YouTube channel. This part matters — using a different account causes permission errors later.
Click the project dropdown at the top of the page, then click "New Project". Name it anything — "YT Auto Blog" works fine. Click Create and wait a few seconds for Google to set it up.
Once it's created, make sure your new project is selected in the top dropdown. Everything you do next must happen inside this project.
In the left menu, go to APIs & Services → Library. In the search bar, type "YouTube Data API v3", click the result, then click the blue Enable button.
Now go to APIs & Services → Credentials. Click "+ CREATE CREDENTIALS" at the top, then choose "API Key". Google will generate a long key — copy it.
Paste that API Key into the "API Key" field on the plugin's settings page. Save.
Free tier note: the YouTube Data API gives you 10,000 units per day at zero cost. Reading a video's metadata costs ~3 units. Fetching captions costs ~50 units. Even a 10-videos-per-day channel will use less than 5% of the quota.
03

Create the OAuth Client ID

The API Key alone can read public data, but pulling actual video transcripts requires OAuth — a secure login flow where you grant your own WordPress site read-only access to your captions. This is what makes the AI summaries accurate to what your video actually says.

Still inside your Google Cloud project, go to APIs & Services → OAuth consent screen.
Choose "External" as the User Type and click Create.
Fill in the basic info: App name (anything), your email as the support email, and your email again at the bottom as the developer contact. Click Save and Continue.
On the Scopes screen, just click Save and Continue. You don't need to add anything here — the plugin requests scopes at runtime.
Test Users — this step is the one most people miss. On the Test Users page, click "+ ADD USERS" and enter the Gmail address of the Google account that owns your YouTube channel. Click Add, then Save and Continue.
⚠ Skip this and you'll get "Access blocked: This app's request is invalid" when you try to connect. The fix is always to come back here and add your email as a test user. The app stays in "Testing" mode forever and that's completely fine — you don't need to publish or verify it.
Click Back to Dashboard. Now go to APIs & Services → Credentials again.
Click "+ CREATE CREDENTIALS""OAuth client ID". For Application type, choose "Web application".
Under "Authorized redirect URIs", click "+ ADD URI" and paste this exact URL (replace YOUR-SITE.com with your actual WordPress domain):
https://YOUR-SITE.com/wp-admin/admin-post.php?action=ytab_oauth_callback
Where to find your exact URL: the plugin's settings page shows your site's exact redirect URI in a copy-ready box. Just paste from there — no editing needed.
Click Create. Google will show you a Client ID and a Client Secret. Copy both. Paste them into the matching fields on the plugin's settings page. Save.
04

Connect your YouTube account

This is the moment everything comes together. One click and the plugin is linked to your channel — read-only, revocable anytime, no third party in the chain.

On the plugin's settings page, scroll to the "YouTube" row. You'll see a red "Not Connected" badge next to a blue "Connect YouTube" button.
Click "Connect YouTube". You'll be redirected to Google's sign-in page.
Sign in with the same Google account you added as a test user in Step 3. Google will warn you that the app isn't verified — this is expected because your app is in Testing mode. Click "Advanced", then "Go to [your app name] (unsafe)".
"Unsafe" is misleading wording from Google. The app is your own. It only exists inside your own Google Cloud project. There's no risk because there's no external party — you're granting permission to yourself.
On the permissions screen, click Continue to grant the requested scope — which is exactly one: read your YouTube video captions. The plugin cannot upload, delete, or modify anything on your channel. It cannot read private videos. It cannot change settings.
Google redirects you back to your WordPress admin. You'll see a green "YouTube connected!" notice and the badge flips to green "Connected".
How to disconnect later: click the red Disconnect link on the same settings row, or revoke access from your Google Account permissions page. Tokens are deleted immediately on disconnect.
05

Add your OpenAI ChatGPT API key

The last piece. This is what turns raw transcripts into clean, readable blog summaries written in natural language. OpenAI charges roughly 2 cents per summary, so a daily channel pays under a dollar a month.

Go to platform.openai.com and create an account if you don't have one. Sign in.
You'll need to add a payment method before the API will work. Click your profile icon → BillingPayment methods. Add a card. OpenAI works as pay-as-you-go — no subscription, you only pay for what you actually use.
Cost reality check: a typical 10-minute video transcript costs about $0.01–$0.03 to summarize using GPT models. Even at 30 videos a month, you're spending under a dollar. Set a monthly spending cap inside the OpenAI dashboard for peace of mind.
In the left menu, click API keys (or go to platform.openai.com/api-keys directly).
Click "+ Create new secret key". Give it a name like "WordPress YT Auto Blog". Click Create.
OpenAI will show your new key once — it starts with sk-. Copy it immediately. If you lose it, you'll have to generate a new one (the old one stays valid but you can't see it again).
⚠ Treat this key like a password. Anyone who has it can spend your OpenAI credit. Don't paste it into screenshots, public docs, or chat messages. The plugin stores it in your WordPress database as an encrypted password field — it's never exposed in the admin UI after saving.
Paste the key into the "OpenAI API Key" field on the plugin's settings page. Save.
That's it. Click the master Enable toggle at the top of the settings page, choose your publishing mode (start with "New Only" — safest), and the next time you upload a YouTube video, a blog post will appear automatically.
Want to test before going live? Click the "Manual Check" button on the settings page. The plugin will fetch your latest video, generate a summary, and create the post immediately — without waiting for the next cron run.

You've read the whole guide.

Now you know exactly what you're getting and how it works. Install the plugin — every step above is also built into the settings page as a clickable wizard.

Install the Plugin →